Prerequisite
Appropriate permission:nx1_ingest, nx1_monitor, nx1_s3_admin, airflow_user, superset_user,
spark_sql, and trino_admin
Download a CSV file
Use a financial transactions dataset from Kaggle containing user data.Upload it to the portal
- Log in to NexusOne.
- On the NexusOne homepage, navigate to Ingest > File.
- In the File Details section, click Upload File > Choose file.
- Header: Use it to define if the first row is the column name. Defaults to
True. - Infer Schema: If NexusOne should guess the data type of each column. Defaults to
True. - Delimeter: To separate each field.
- Quote character: Protects the slicing of strings by a delimeter.
- Date format: Indicates the date format of the CSV file.
- Timestamp format: Indicates the timestamp format of the CSV file.
Add ingest details
Add the following information to the fields:- Name:
csv - Schema:
csv_schema - Table:
csv_table - Schedule:
Run Once - Mode:
append - Tags: Don’t add any tags
Monitor job
When you ingest the file, this creates an Airflow job. To monitor the status of the job, use the following steps:- Click View Jobs or navigate to the NexusOne homepage and click Monitor.
- Find your job name,
csv, in the list, and watch its current status. - Wait for a few minutes and refresh your browser until the status changes to
Completed.
Visualize your dataset
Use the following steps to visualize your dataset:- On the NexusOne homepage, click Discover to launch Superset.
- Hover your mouse over SQL, and then select SQL Lab.
- Enter the following command in the query box:
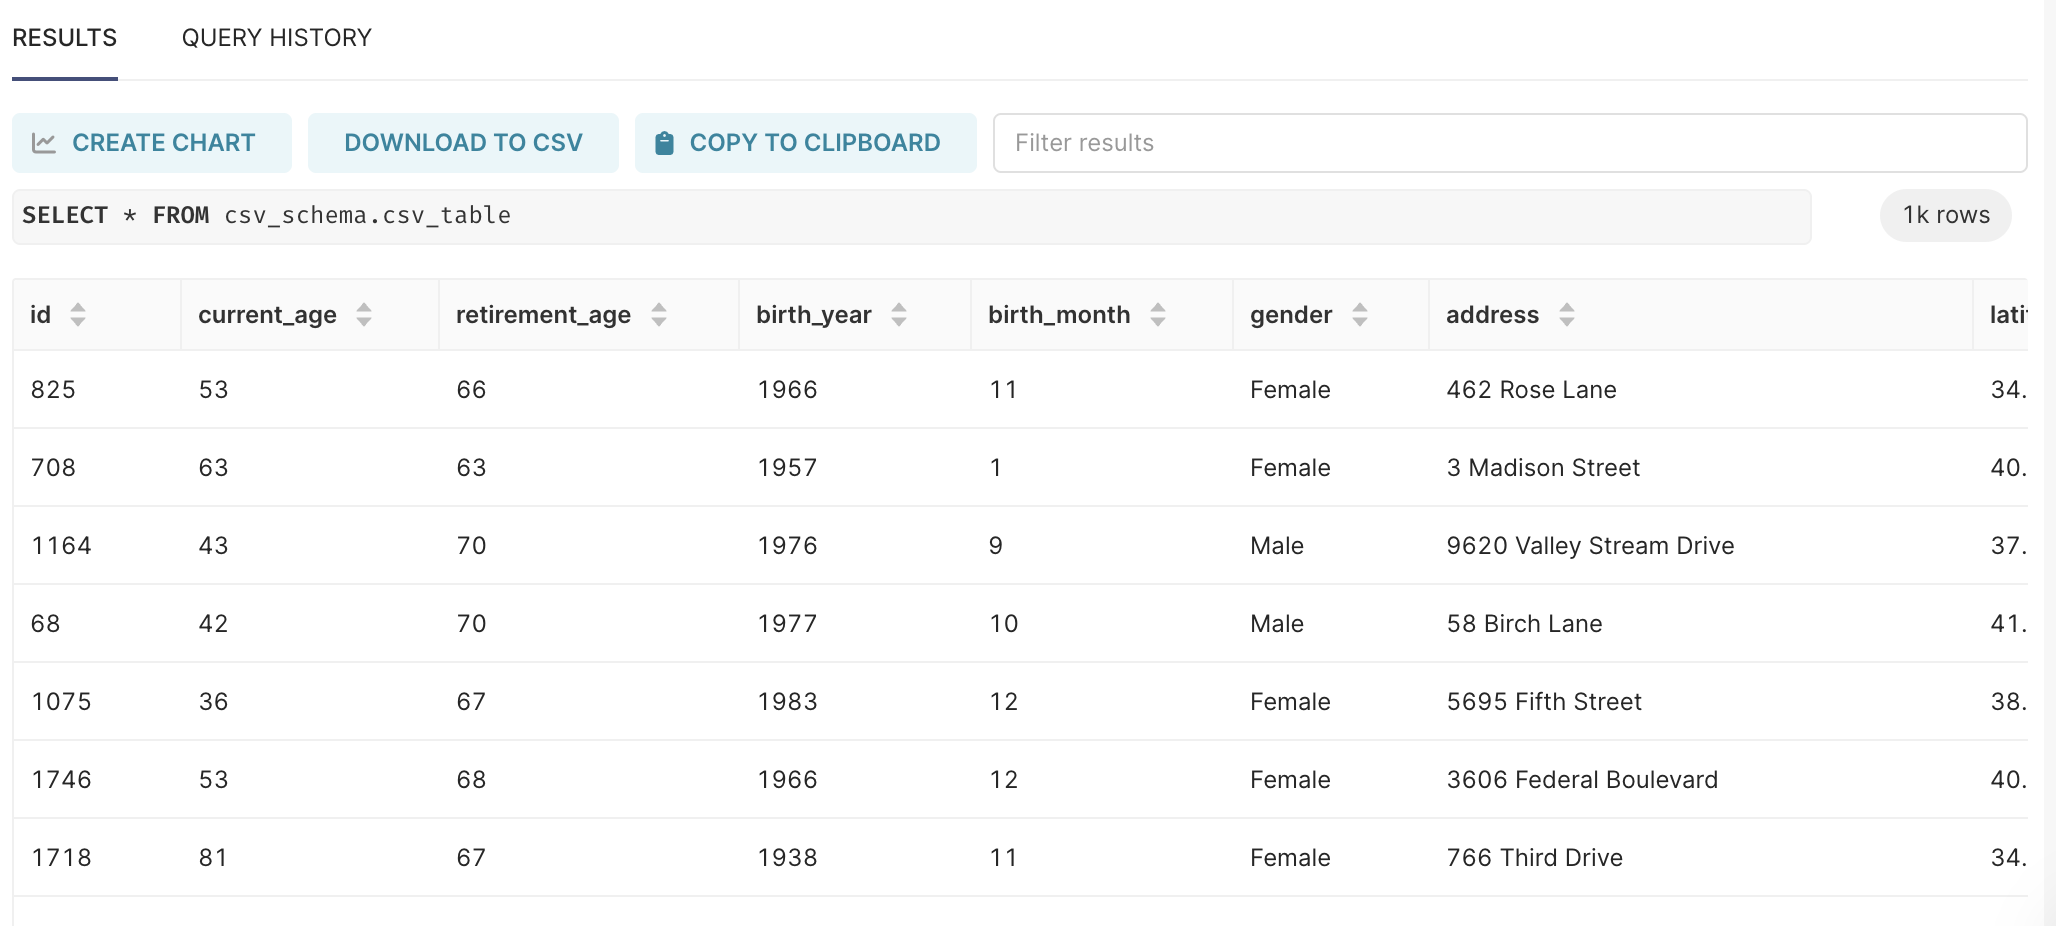
Visualize your dataset
Additional resources
- To get an overview of what file ingestion is, refer to Data ingestion overview.
- For general instructions about how to ingest a file in NexusOne, refer to How to ingest a file.
- For more information about roles or permissions, refer to Govern Overview.